How to clean robot vacuum sensors, and why navigation gets worse over time
Most "my robot got dumber" problems come from dusty sensors, hairy wheels and stale maps. I map every sensor, what manufacturers say to clean it with, and a five-minute routine that fixes most navigation issues.
We choose products independently. We may earn a commission through links on this page; your price stays the same. Affiliate policy
On this page
The short answer
- Dirty sensors cause most navigation problems that look like a failing robot. Cliff, wall, LiDAR and camera windows all collect dust at floor level.
- Manufacturers consistently say to use a soft, dry microfiber or cotton cloth. Several warn against wet wipes, alcohol and household cleaners.
- Hair in wheel axles, worn tires and outdated maps are the other big causes of drifting, missed edges and getting lost.
- A five-minute routine every two to four weeks keeps most robots navigating like new.
Why your robot seems to get dumber over time
A new robot vacuum feels almost magical for the first few months. Clean straight lines, perfect docking, no bumping into the same chair leg. Then, slowly, things slip.
It starts missing edges. It thinks a dark rug is a cliff. It wanders off its rows or rotates in place trying to find the dock. Many owners assume the robot is wearing out or that a software update broke it.
Most of the time, the real cause is far more boring: dust, hair and smudges on sensors the robot uses to see. A robot vacuum lives at floor level in the dustiest part of your home, and its sensors get the full exposure.
In this guide, I explain which sensors your robot has, what each one does when it gets dirty, how manufacturers say to clean them, and the other wear issues that make navigation worse over time.
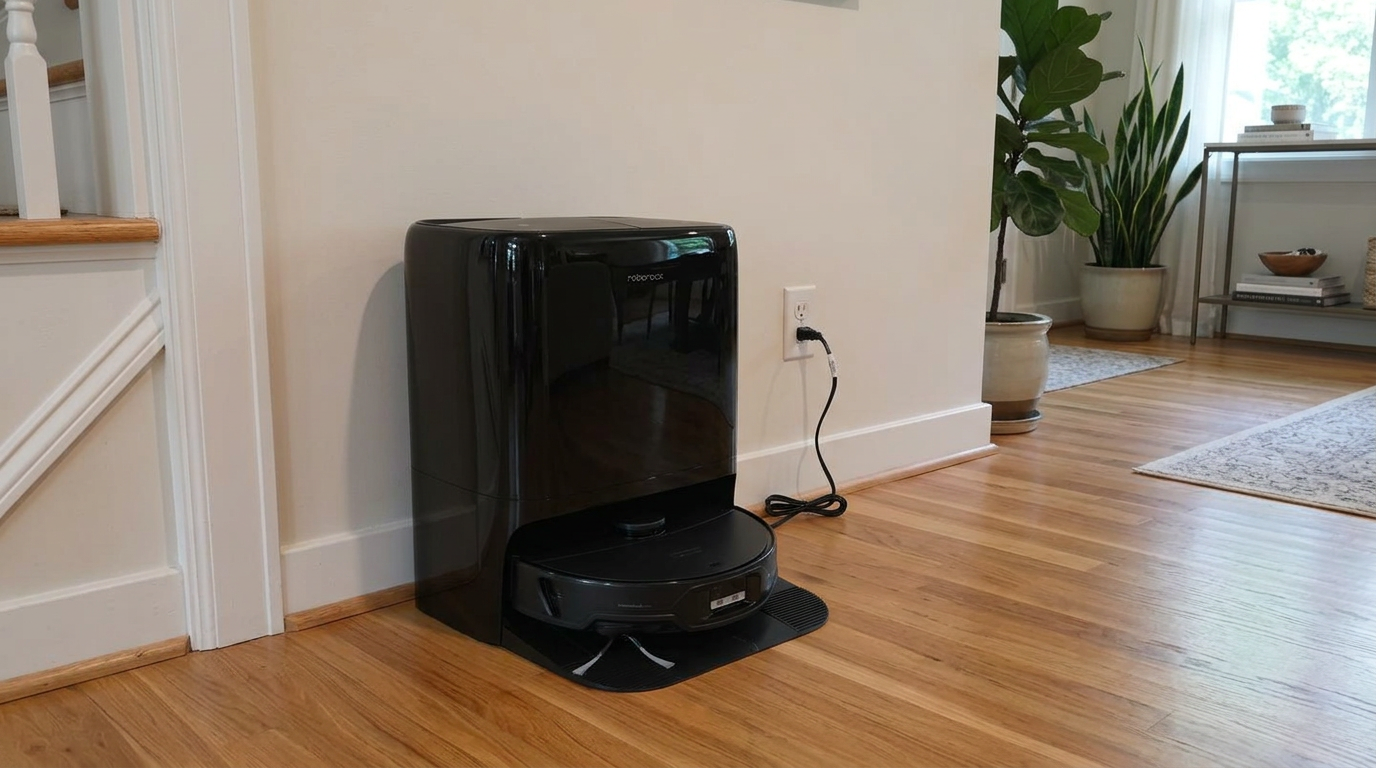
Flagship robots like the Qrevo Edge 3 Pro carry a dozen or more sensors, and each one needs an occasional wipe to stay accurate. Read my Roborock Qrevo Edge 3 Pro review →
The sensors your robot uses to see, and what dirt does to them
Most modern robots carry the same core set of sensors. Roborock's S7 manual, for example, lists a dock locator, a wall sensor, a carpet sensor and six cliff sensors as the parts to wipe during routine maintenance.
Here is what each sensor does, where it usually sits, and what goes wrong when it gets dirty.
| Sensor | Where it is | What it does | Symptom when dirty |
|---|---|---|---|
| LiDAR (laser distance sensor) | Turret on top | Builds the map and tracks position | Wrong room, map drift, "lost" robot |
| Cliff sensors | Underside, around the front edge | Detect drops like stairs | Refuses to cross dark rugs, cliff errors, stops randomly |
| Wall sensor | Side of the robot | Follows walls at a set distance | Misses edges, bumps walls, wall-sensor errors |
| Dock locator / IR receiver | Front of the robot | Finds the dock signal | Can't find the dock, circles in place |
| Carpet sensor | Underside | Detects carpet for boost and mop lift | Boosts on hard floors, mops rugs |
| Front camera or structured light | Front bumper area | Spots obstacles | Hits objects, false stops |
| Charging contacts | Underside and dock | Carry charging current | Charging errors, short runtime |
Not every robot has every sensor. Budget gyro robots may skip LiDAR and cameras; flagships often add extra ones. Your manual's diagram is the best map of what to clean.
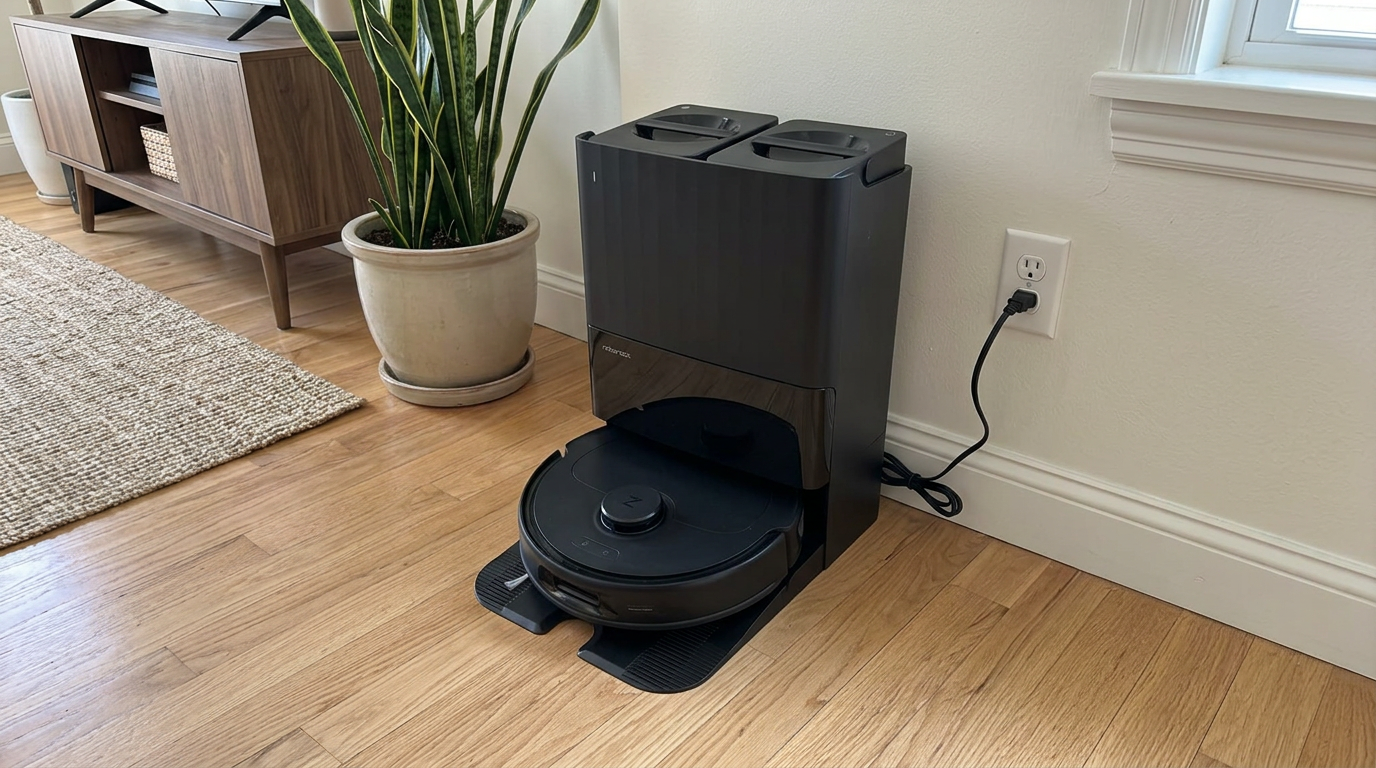
Mid-range robots like the Qrevo S Pro combine LiDAR on top with cliff, wall and carpet sensors underneath. Read my Roborock Qrevo S Pro review →
What manufacturers say to clean sensors with
The single most consistent instruction across brands is simple: use a soft, dry cloth.
iRobot's cliff sensor guide says to wipe all cliff sensor openings with a clean, dry microfiber or soft cotton cloth. Roborock's manuals say the same for all sensors. Dreame's cliff sensor guide goes further and says not to use wet wipes, rubbing alcohol or harsh household cleaners.
One of Dreame's own user manuals warns that wet cloths can damage sensitive elements in the robot and dock and tells owners to use dry rags.
There is one common exception. For the top-mounted camera on some older Roombas, iRobot's maintenance article suggests a microfiber or cotton cloth lightly dampened with water or screen cleaning solution. Follow your own model's instructions for camera windows.
My kitA clean microfiber cloth, a few cotton swabs for tight corners and a soft paintbrush for the LiDAR turret vents. That is all I use.
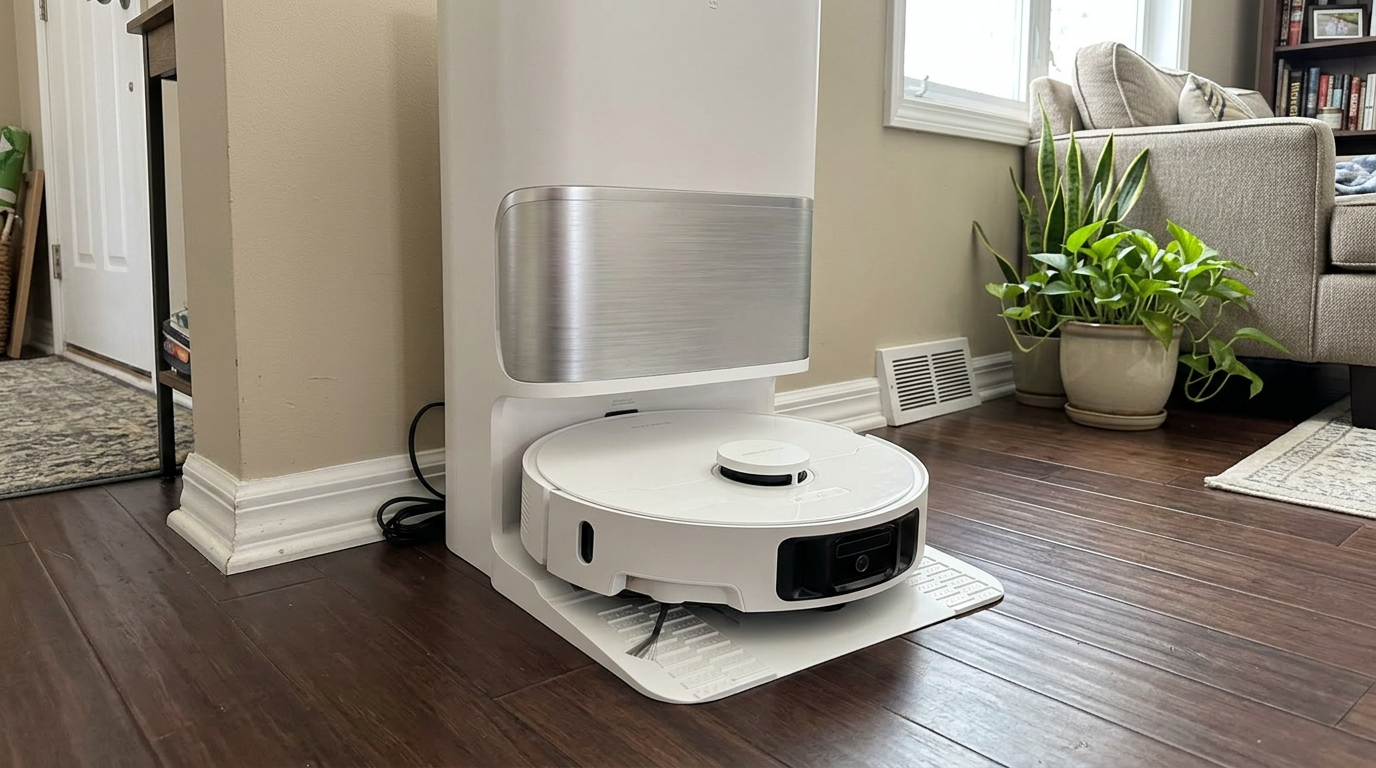
Robots like the L40 Ultra Gen 2 have several clear sensor windows underneath that collect dust from every run. Read my Dreame L40 Ultra Gen 2 review →
Cliff sensors: the cause of most strange behavior
Cliff sensors deserve special attention, because they cause the most confusing problems when dirty.
iRobot lists dirty cliff sensors as one of the main causes of its Error 6, alongside driving over a dark surface or getting stuck over an actual edge. That combination is why so many owners see the robot refuse to cross a black or navy rug: a dark surface reflects less infrared light, and a dusty sensor makes the reading even weaker.
Camera-based navigation has its own version. iRobot's Error 17 guide for camera-equipped models says to keep the camera clear of dust and to make sure rooms have at least dim light, because extremely dark rooms can obscure the localization camera.
| Symptom | First thing I check |
|---|---|
| Won't cross a dark rug | Cliff sensors; then mark the rug in the app if possible |
| Stops with a cliff error on flat floor | Cliff sensors and any hair caught near them |
| Misses edges along one side | Wall sensor on that side |
| Can't find the dock | Dock locator window and the dock's front panel |
| Boosts suction on tile | Carpet sensor |
| Thinks it's in the wrong room | LiDAR turret or camera window |
Quick test: On many robots you can cover one cliff sensor with a finger while the robot is running on a flat floor; it should react as if it found a drop. If one sensor never reacts after cleaning, contact support.
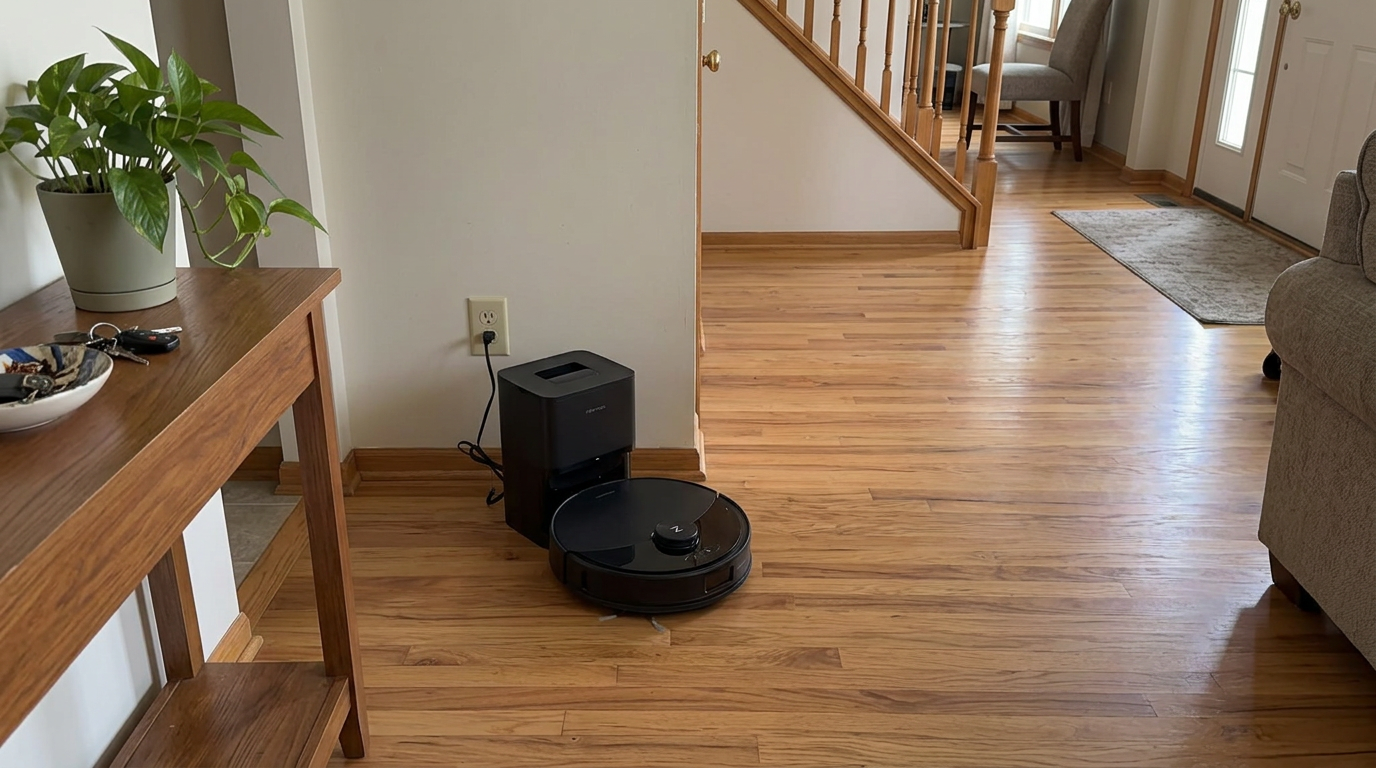
Budget robots like the Q10 S5+ rely on the same infrared cliff sensors as flagships, so a monthly wipe matters just as much. Read my Roborock Q10 S5+ review →
Other reasons navigation gets worse over time
Dirty sensors are the biggest cause, but not the only one. These are the other reasons I see navigation slowly get worse.
| Cause | What happens | Fix |
|---|---|---|
| Hair wrapped around wheel axles | Wheels slip, so the robot thinks it moved further than it did | Pull wheels and clear hair monthly |
| Worn wheel tires | Less grip, more slipping on smooth floors | Replace the wheel module if treads are bald |
| Front caster clogged | Robot pulls to one side or stutters | Pop out the caster and clean the axle |
| Moved furniture | Old map no longer matches the room | Let the robot update, or re-map after big changes |
| Corrupted or patched map | Odd room boundaries, phantom walls | Delete and rebuild the map |
| Stuck bumper | Robot thinks it is constantly hitting something | Clean around the bumper gap and check it moves freely |
| LiDAR turret blocked or slowing | Map drift, "LiDAR error" messages | Clear debris around the turret; contact support if it persists |
Wheel slip is the sneaky one. Robots use wheel rotation, plus a gyroscope, to estimate movement between LiDAR or camera updates. Hair wound around an axle makes the wheel turn without the robot moving as far, and that small error adds up across a room.
The same manual warns against carrying the robot by the laser sensor cap, the top cover or the bumper. A turret that has been knocked or used as a handle is a common source of later LiDAR problems.
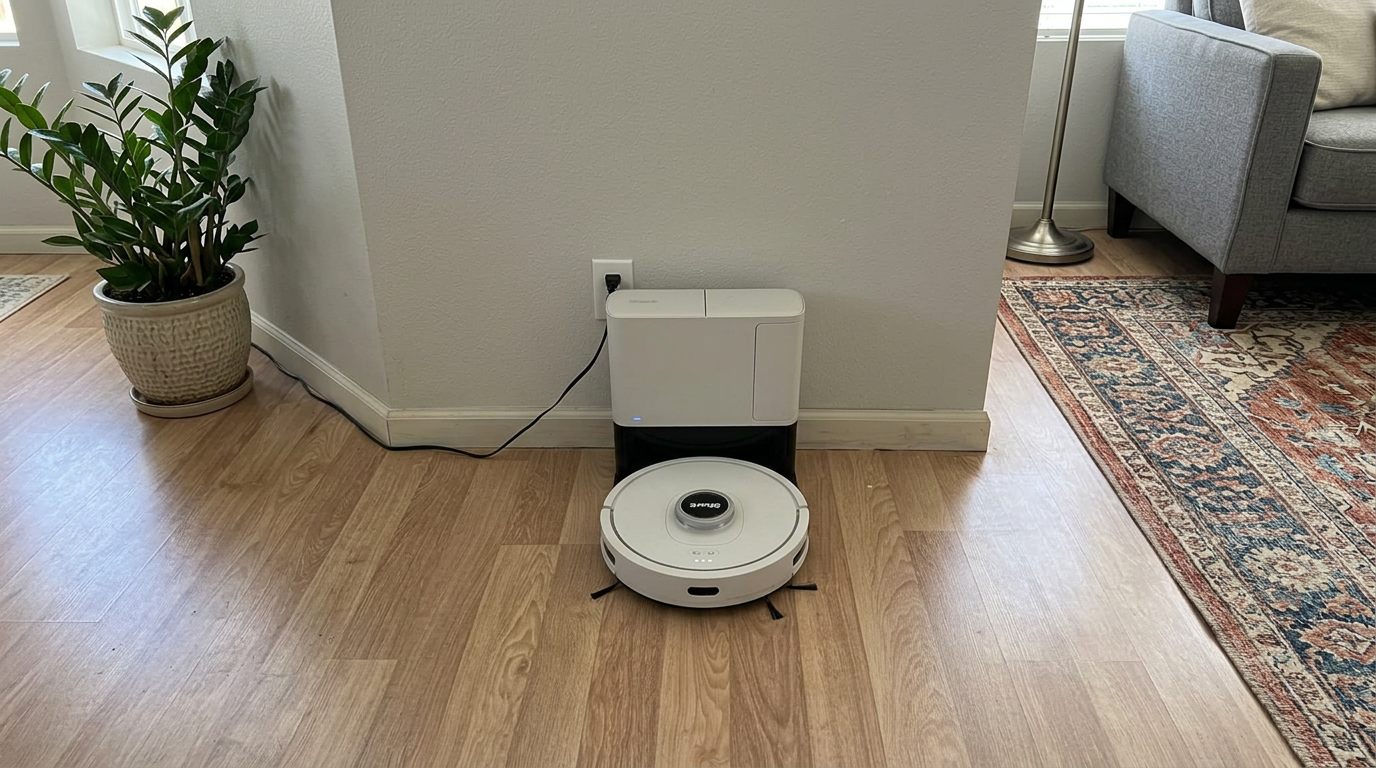
Self-emptying robots like the Shark AV2501S AI Ultra still need their wheels and caster cleared of hair to keep navigation accurate. Read my Shark AV2501S AI Ultra review →
My sensor cleaning schedule
Here is the cleaning schedule I follow. It is based on the brands' guidance, adjusted for a home with a shedding pet. Without pets, you can stretch most of these intervals.
| Part | How often | How |
|---|---|---|
| Cliff sensors | Every 2 weeks | Dry microfiber or cotton swab |
| Wall sensor and dock locator | Every 2 weeks | Dry microfiber |
| Carpet sensor | Monthly | Dry microfiber |
| LiDAR turret | Monthly | Soft brush around vents, dry cloth on the window |
| Front camera / obstacle sensor | Every 2 weeks | Per your manual; usually a dry or barely damp microfiber |
| Charging contacts (robot and dock) | Weekly to monthly | Dry cloth |
| Wheels, axles and caster | Monthly | Remove hair; check tread wear |
The whole routine takes me about five minutes. I do it right after emptying the bin or changing a dock bag, so it piggybacks on a habit I already have.
Pair it with brush cleaning: I wipe sensors on the same day I clear hair from the main brush. The robot is already upside down on the counter, so it adds almost no time.
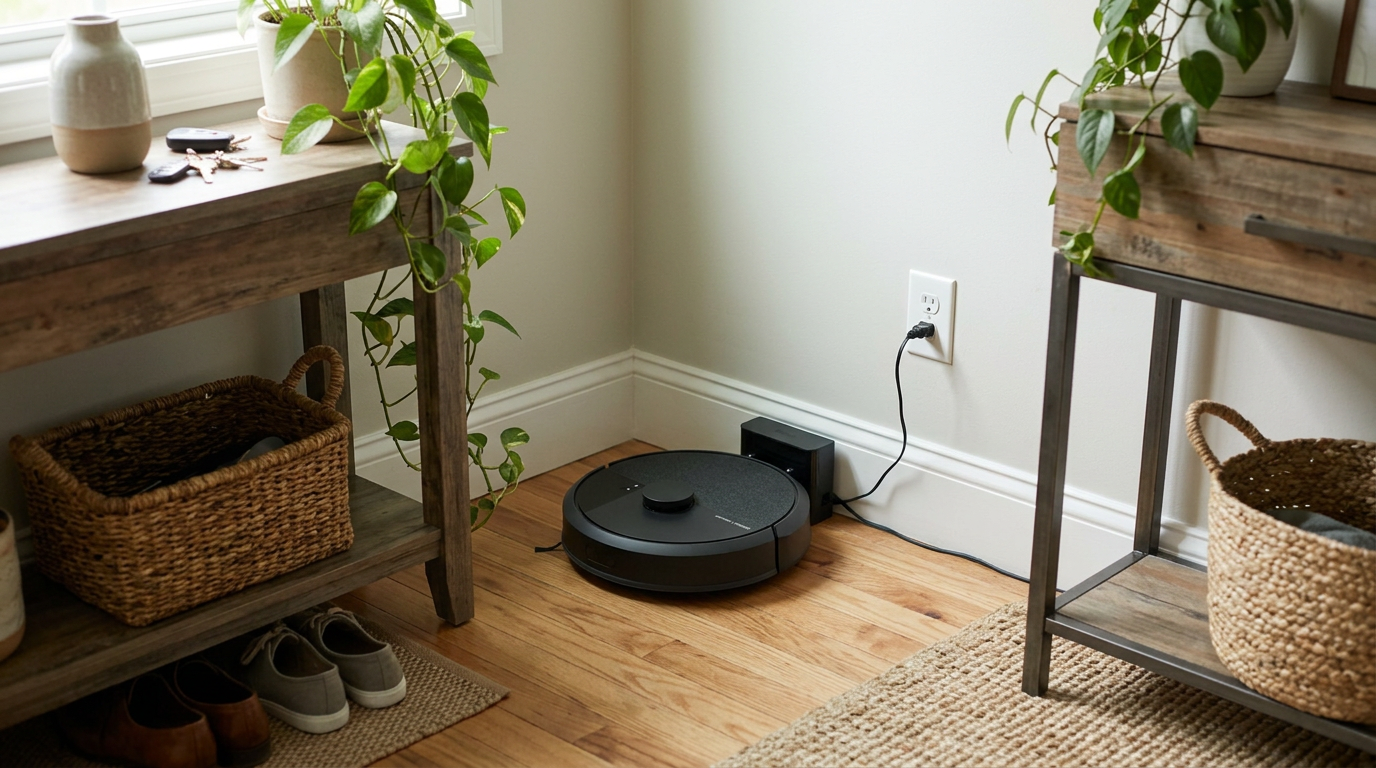
Simple vacuum-only robots like the Roomba 105 Vac still have cliff sensors and charging contacts that benefit from a regular wipe. Read my iRobot Roomba 105 Vac review →
When to reset, re-map or call support
Sometimes cleaning everything doesn't fix the problem. Here is how I decide between a reset, a re-map and a support call.
If the robot gets lost in specific rooms after furniture moved, I delete and rebuild the map. A clean map often fixes "navigation" problems that were really map problems.
If the robot behaves oddly right after a firmware update, I check the brand's app or support page for known issues and make sure the update finished installing. A full power-off and restart helps more often than you would expect.
If one specific sensor keeps throwing errors even when it is spotless, or the LiDAR turret makes grinding noises or stops spinning, that is a hardware problem. Under warranty, contact support before opening anything.
- Cliff and wall sensor errors
- Dock-finding problems
- Wrong-room confusion after furniture changes
- Boosting on hard floors
- LiDAR not spinning or grinding
- A sensor that never reacts after cleaning
- Repeated errors after a factory reset
- Physical damage from a fall
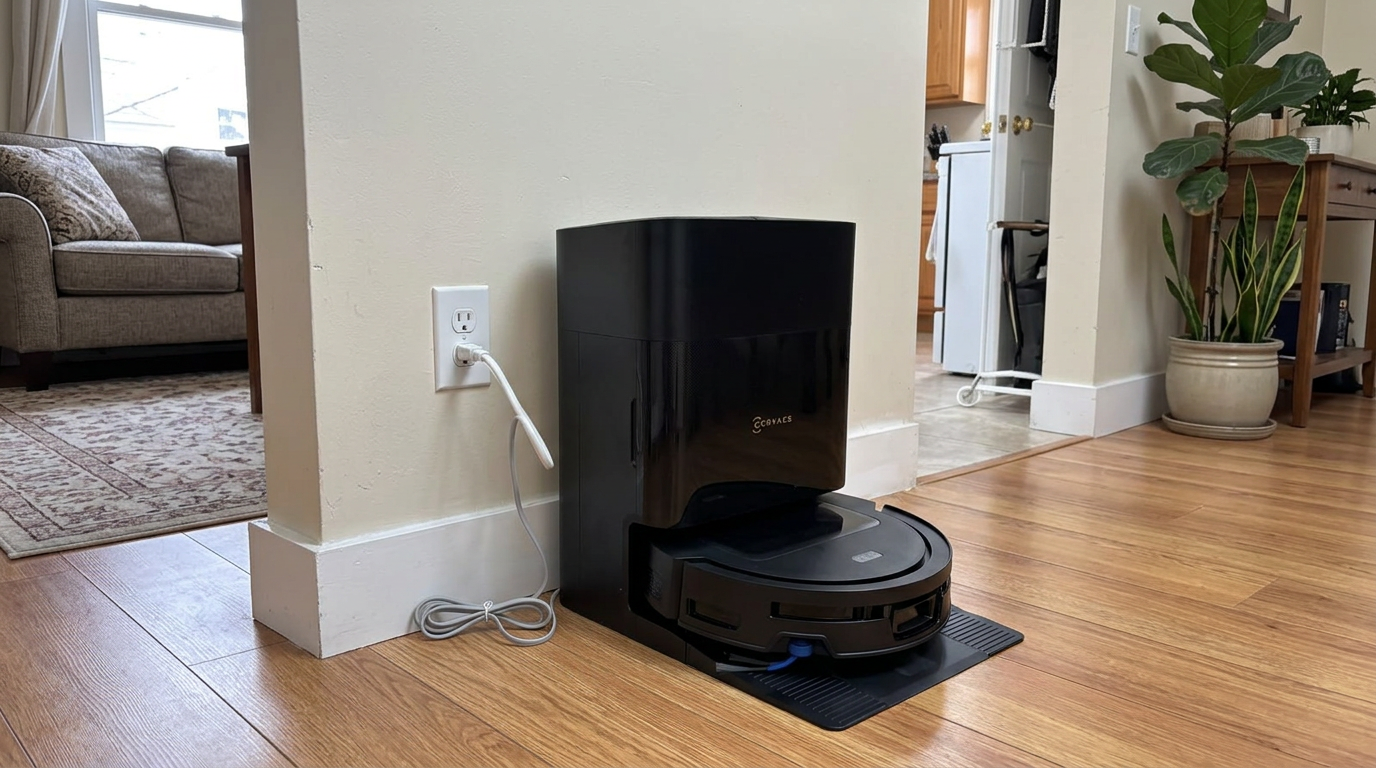
Robots with advanced obstacle sensing, like the DEEBOT T90 PRO OMNI, also benefit from a fresh map after major furniture changes. Read my ECOVACS DEEBOT T90 PRO OMNI review →
How I clean every sensor in five minutes
- Power off and flip the robotTurn the robot off and lay it upside down on a soft towel. Remove the main brush if you are cleaning that too.
- Wipe the cliff sensorsWipe each small window around the front edge with a dry microfiber cloth. Use a dry cotton swab for recessed sensors.
- Clean the carpet sensor and contactsWipe the carpet sensor window and the charging contacts on the robot's underside.
- Clear wheels and casterRemove hair from both wheel axles and pop out the front caster to clean its axle.
- Flip back and clean the sides and frontWipe the wall sensor, dock locator and front obstacle sensor or camera window, following your manual for camera windows.
- Clean the LiDAR turretBrush dust from the turret vents with a soft brush, then wipe the window. Never use the turret as a handle.
- Wipe the dock contacts and front panelClean the dock's charging contacts and the window where it sends its homing signal.
Frequently asked questions
How do I clean robot vacuum sensors?
How often should I clean robot vacuum sensors?
Why won't my robot vacuum go on my dark rug?
Why does my robot vacuum get lost?
Can I use water to clean robot vacuum sensors?
Why does navigation get worse over time?

Sarah has tested vacuums, mops, air purifiers and dehumidifiers since 2017. Before joining BrasQ, she spent five years as a test coordinator at a national consumer advocacy group. She studied industrial design at Ohio State and lives in Columbus with her family and a long-haired cat.
- First published.
- iRobot support: how to clean Roomba cliff sensors
- iRobot support: Error 6 causes
- iRobot support: routine maintenance (cliff sensors, contacts, camera window)
- iRobot support: Error 17 for camera-equipped models
- Roborock S7 user manual: robot sensors maintenance
- Roborock user manual: laser distance sensor safety class and carrying guidance
- Dreame: how to clean a cliff sensor on a robot vacuum
- Dreame F9 Pro user manual: routine maintenance